How to prepare designs for Clear Phone Case?

Lukas
Last Update 2 months ago
Uniqueness of this product is that you will be able to create designs with transperent areas and print only certain objects of the design. Read further, for more information.
1. While in Podbase dashboard go to "Products",
2. Next step is click on "+New Product",
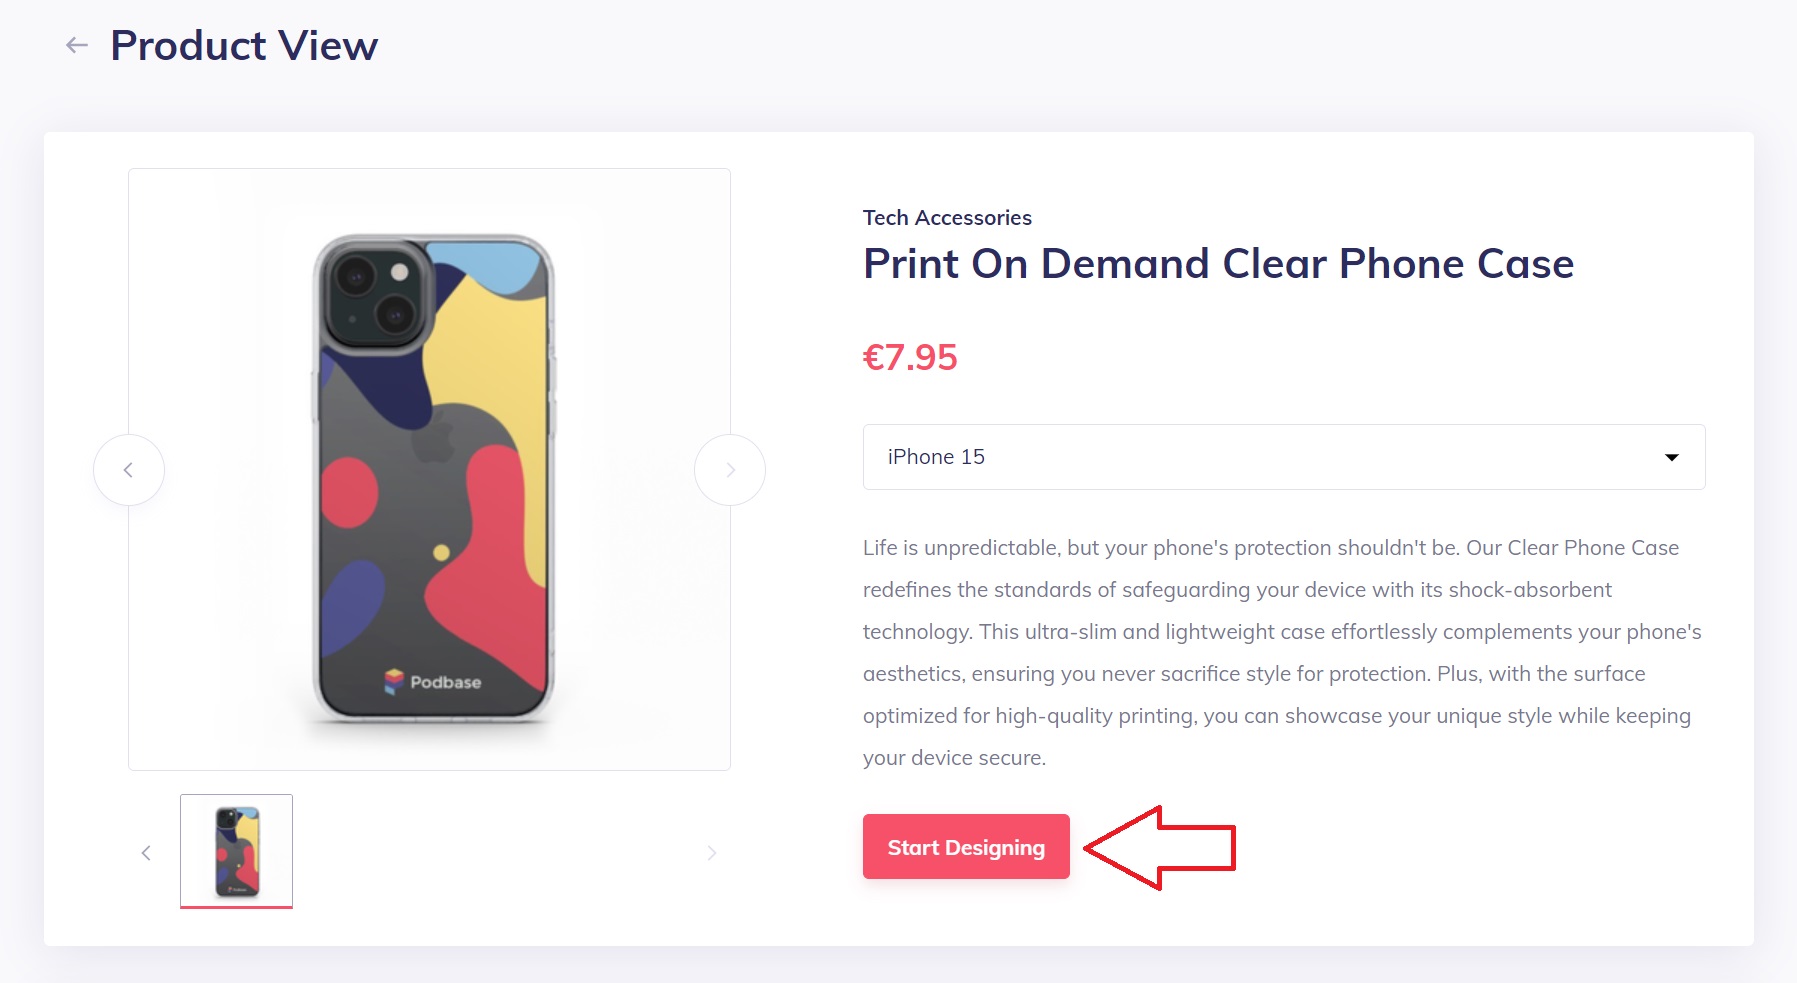
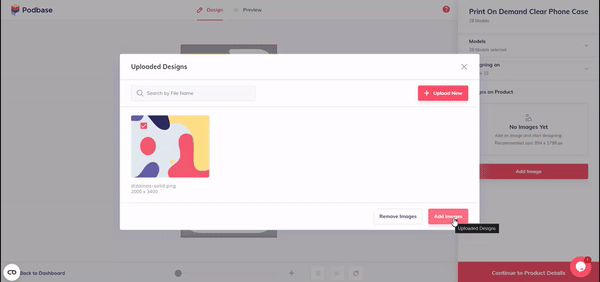
3. Choose "Print On Demand Clear Phone Case" and click "Start Designing" to upload your own designs and continue with product creation.
- Add an image based on all of our recommended parameters;
- IMPORTANT. image has to be saved in PNG format to keep transperent areas.
- Always check that important objects of your design would stay in safe area;
- Make sure to fill all area of the layout (red rectangle), even bleed area.
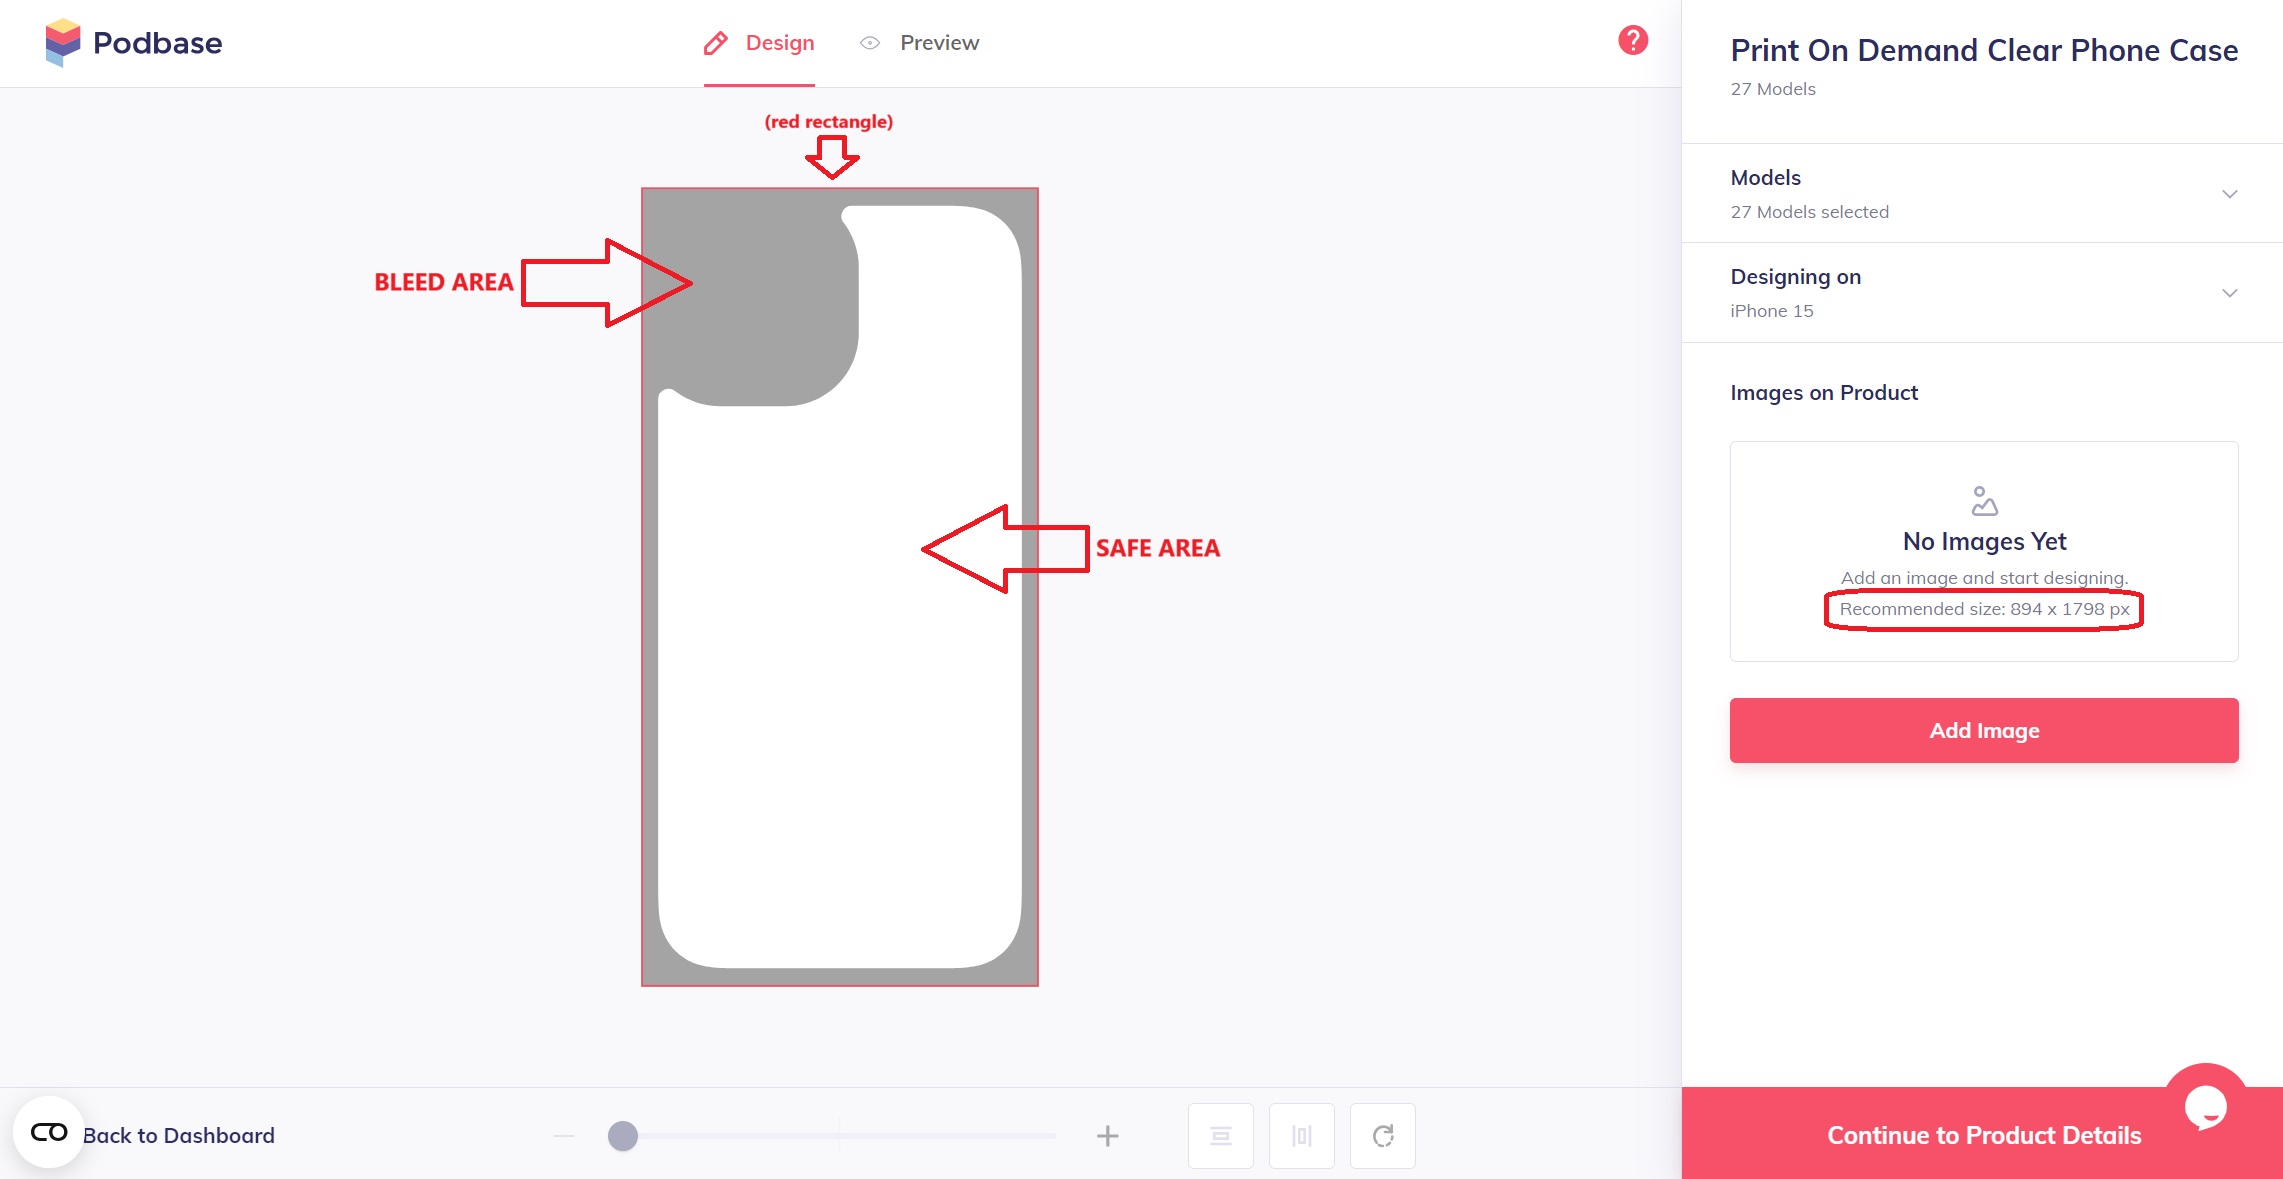
Make sure to fill all area of the layout (red rectangle), even bleed area.
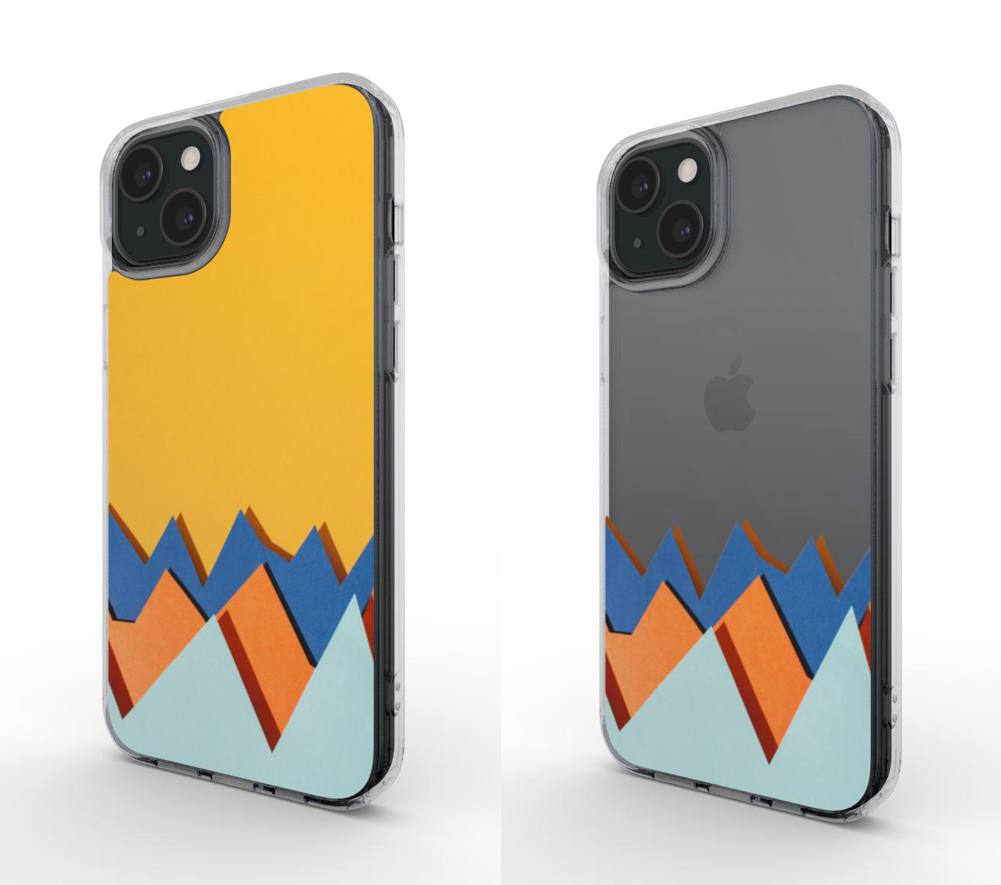
5. With Clear Phone Case you are able to print your designs with transperent areas. It means, you are able to print only specific object of the design. For example, in this case we removed background:
PRO TIPS:
1. Ensure that the clear areas are 100% transparent; otherwise, the printer will print white color over them. The printing process begins with the application of white color on the phone case followed by the other colors on top. Here's an example of how you can check for pixels that may not be visible to the naked eye:
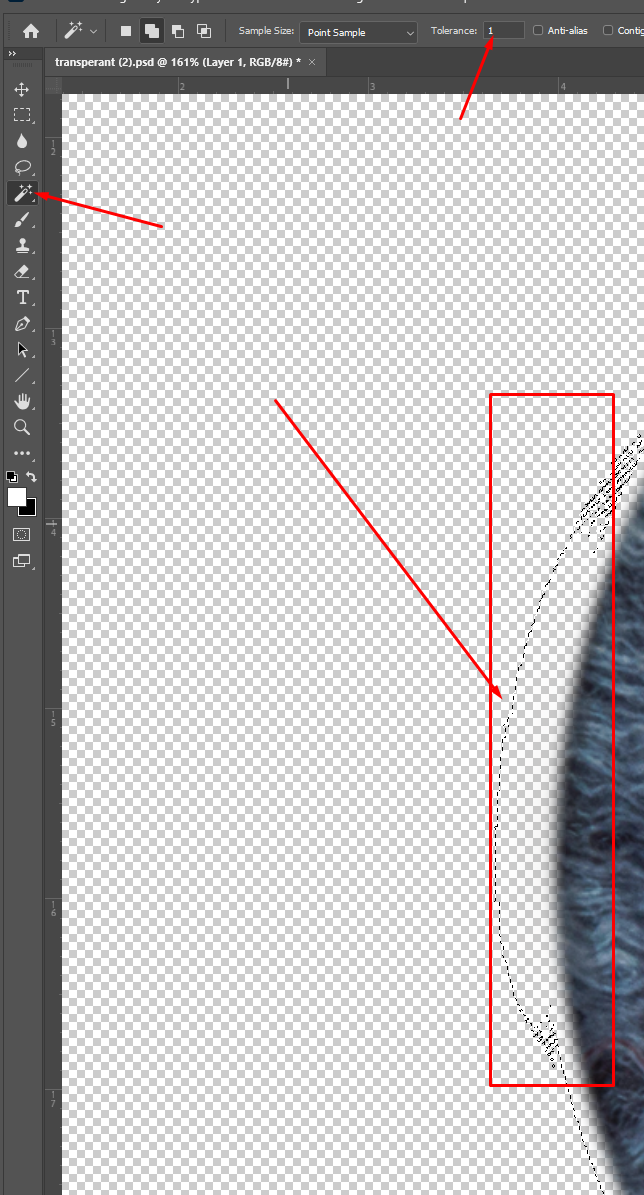
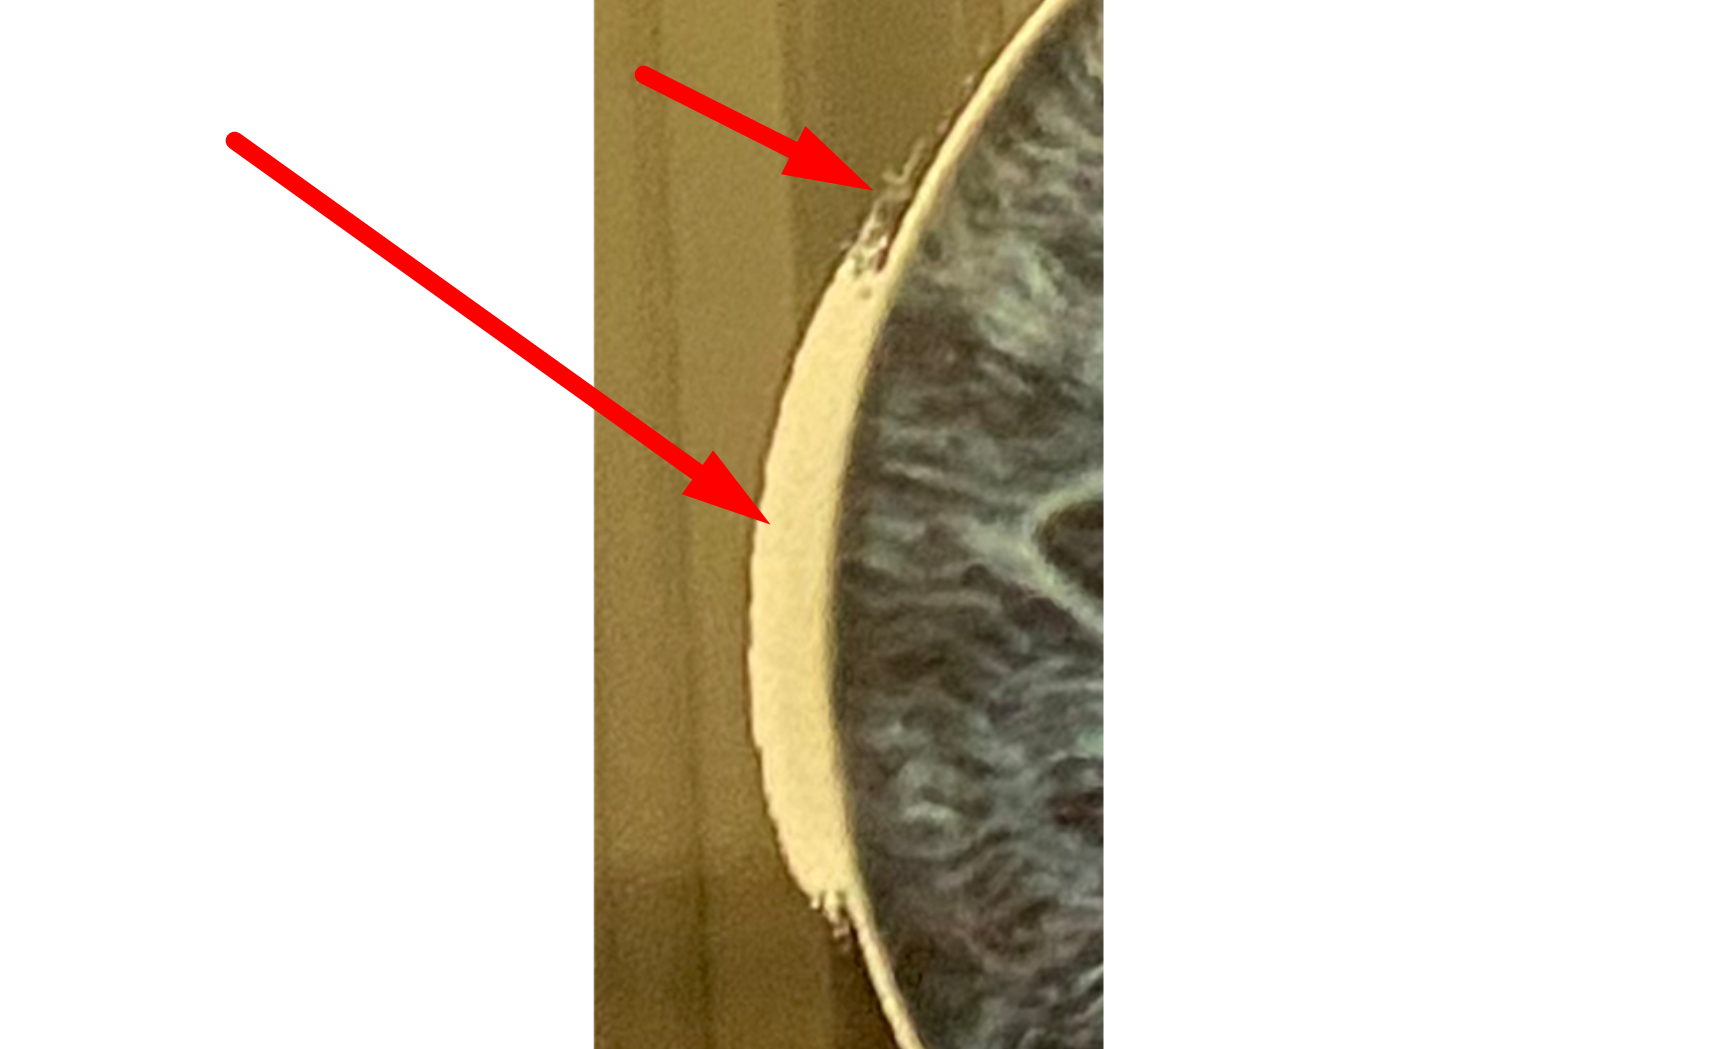
a. Bad print example of not visible pixels in the area (area not 100% transperent). We can see white color next to the objects, while it should be only under objects:
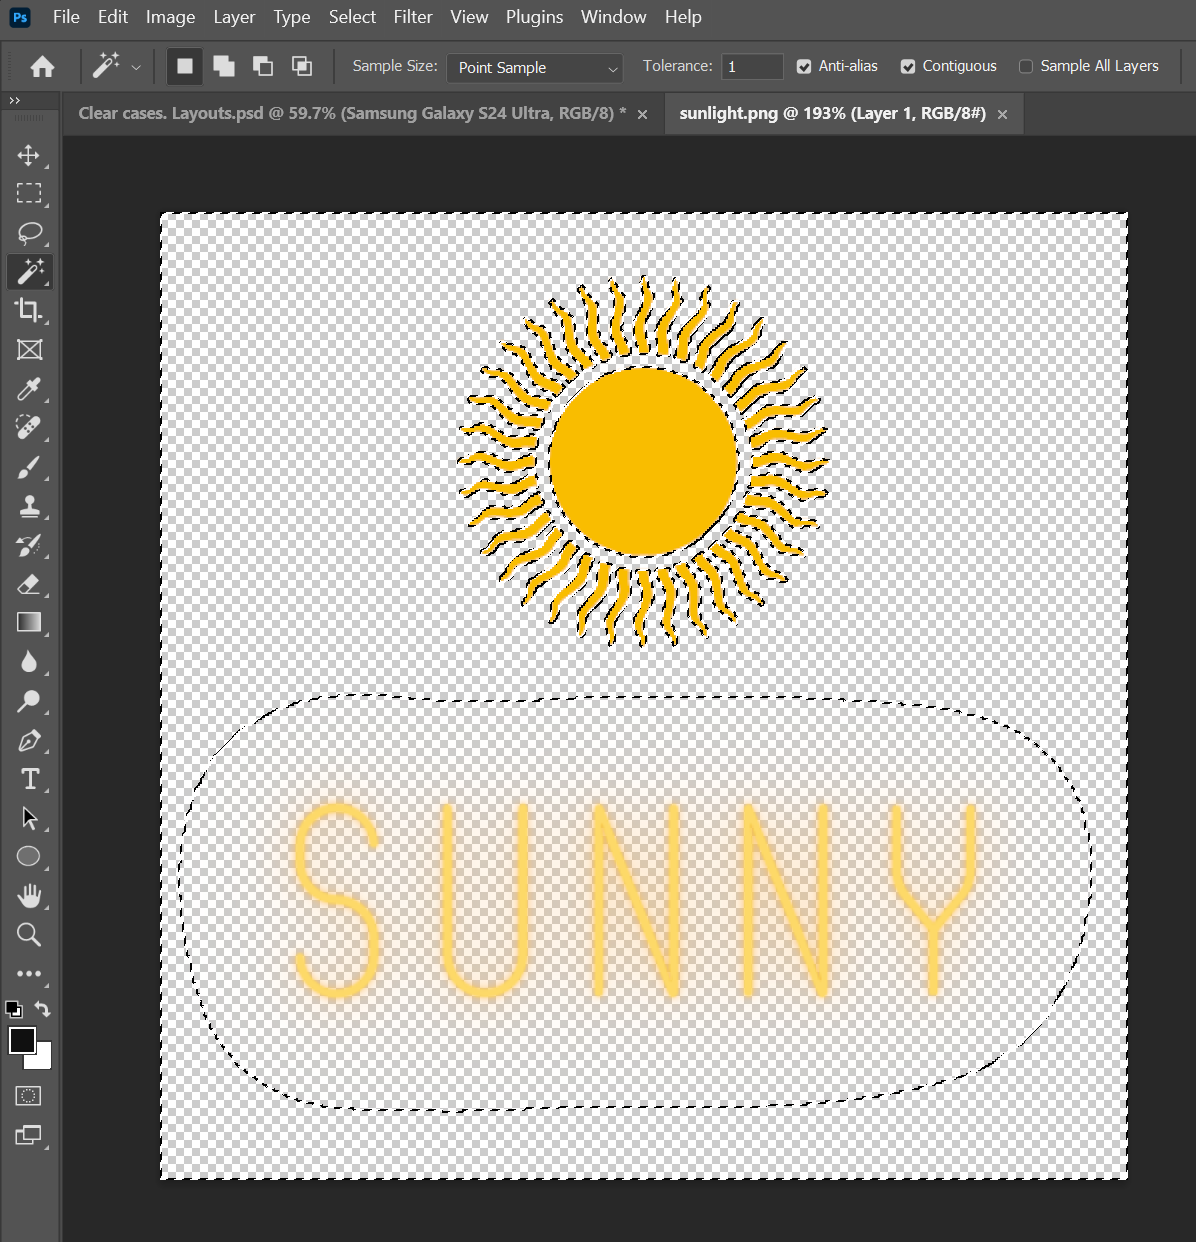
b. another Bad print example. Trying to use shinny gradient effect on the letters. By using same pixel tracking tool (in this case Photoshop > Magic Wand) we can see that mentioned effect has pixels around the letters
As mentioned before, printing process begins with the application of white color on the phone case followed by the other colors on top. In this case every almost transperent pixel will have white color under it and final result will look like this:
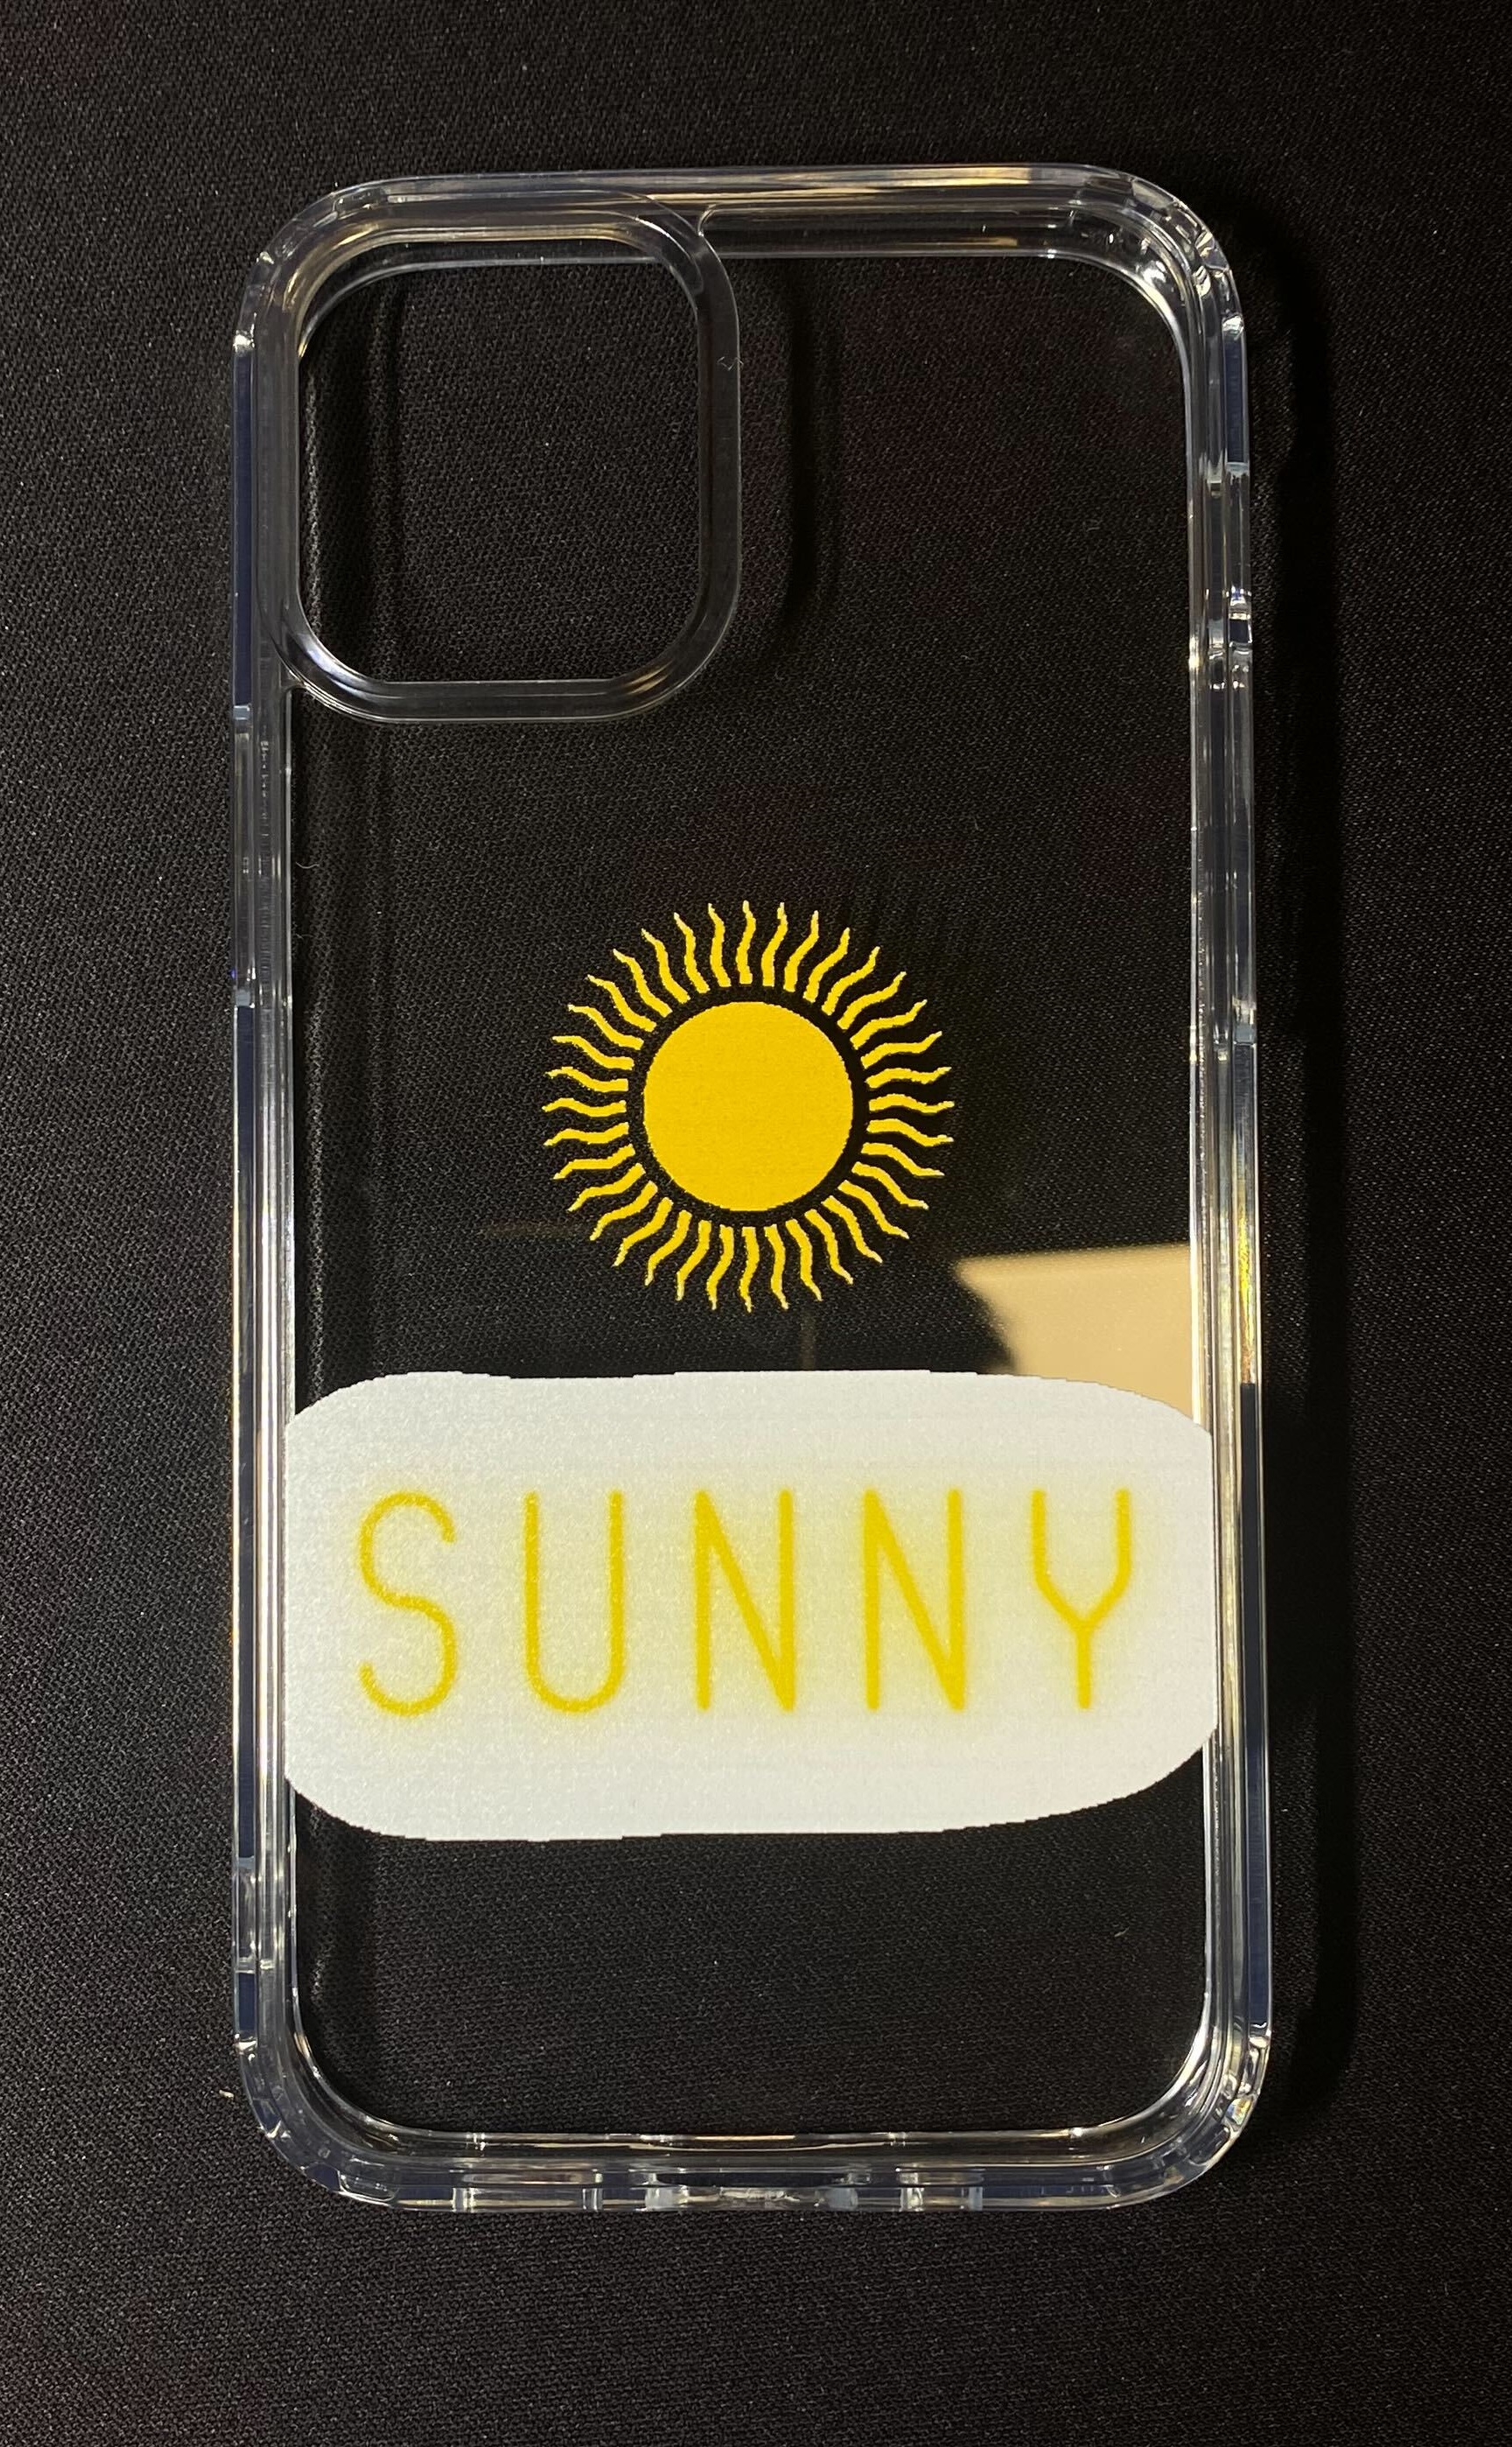
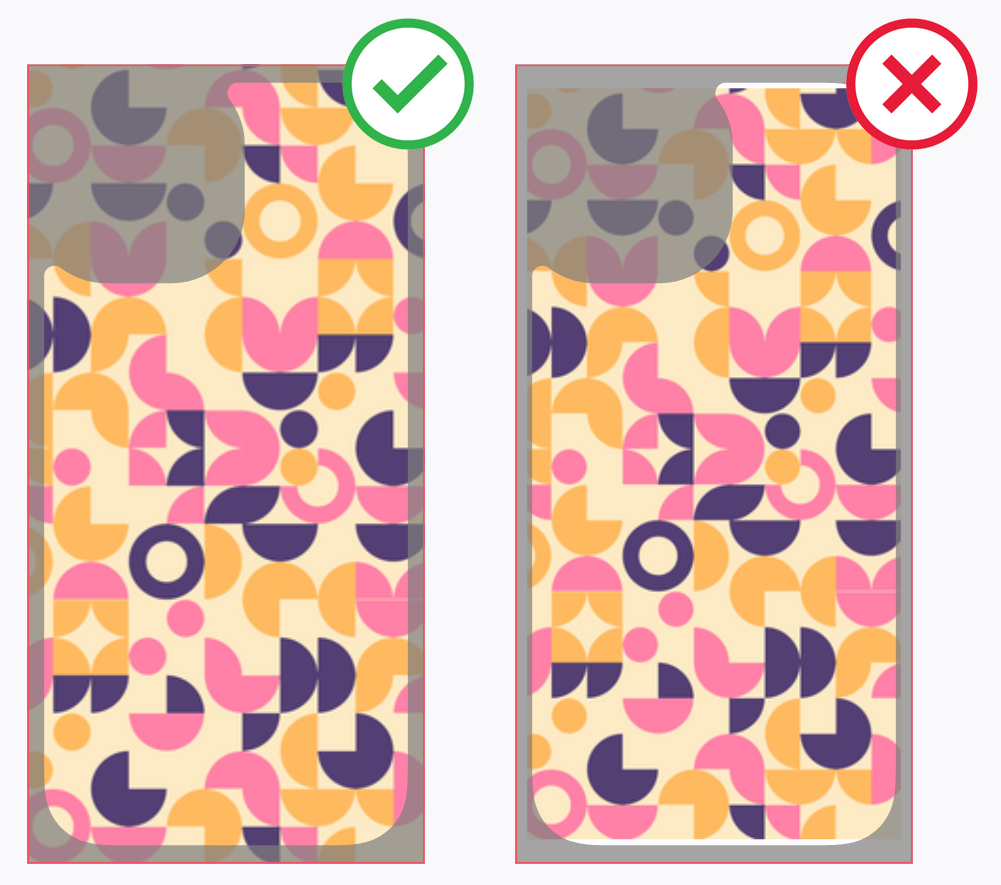
To avoid these type of defects we suggest you to cut out objects perfectly while creating your design or use a background. For example:
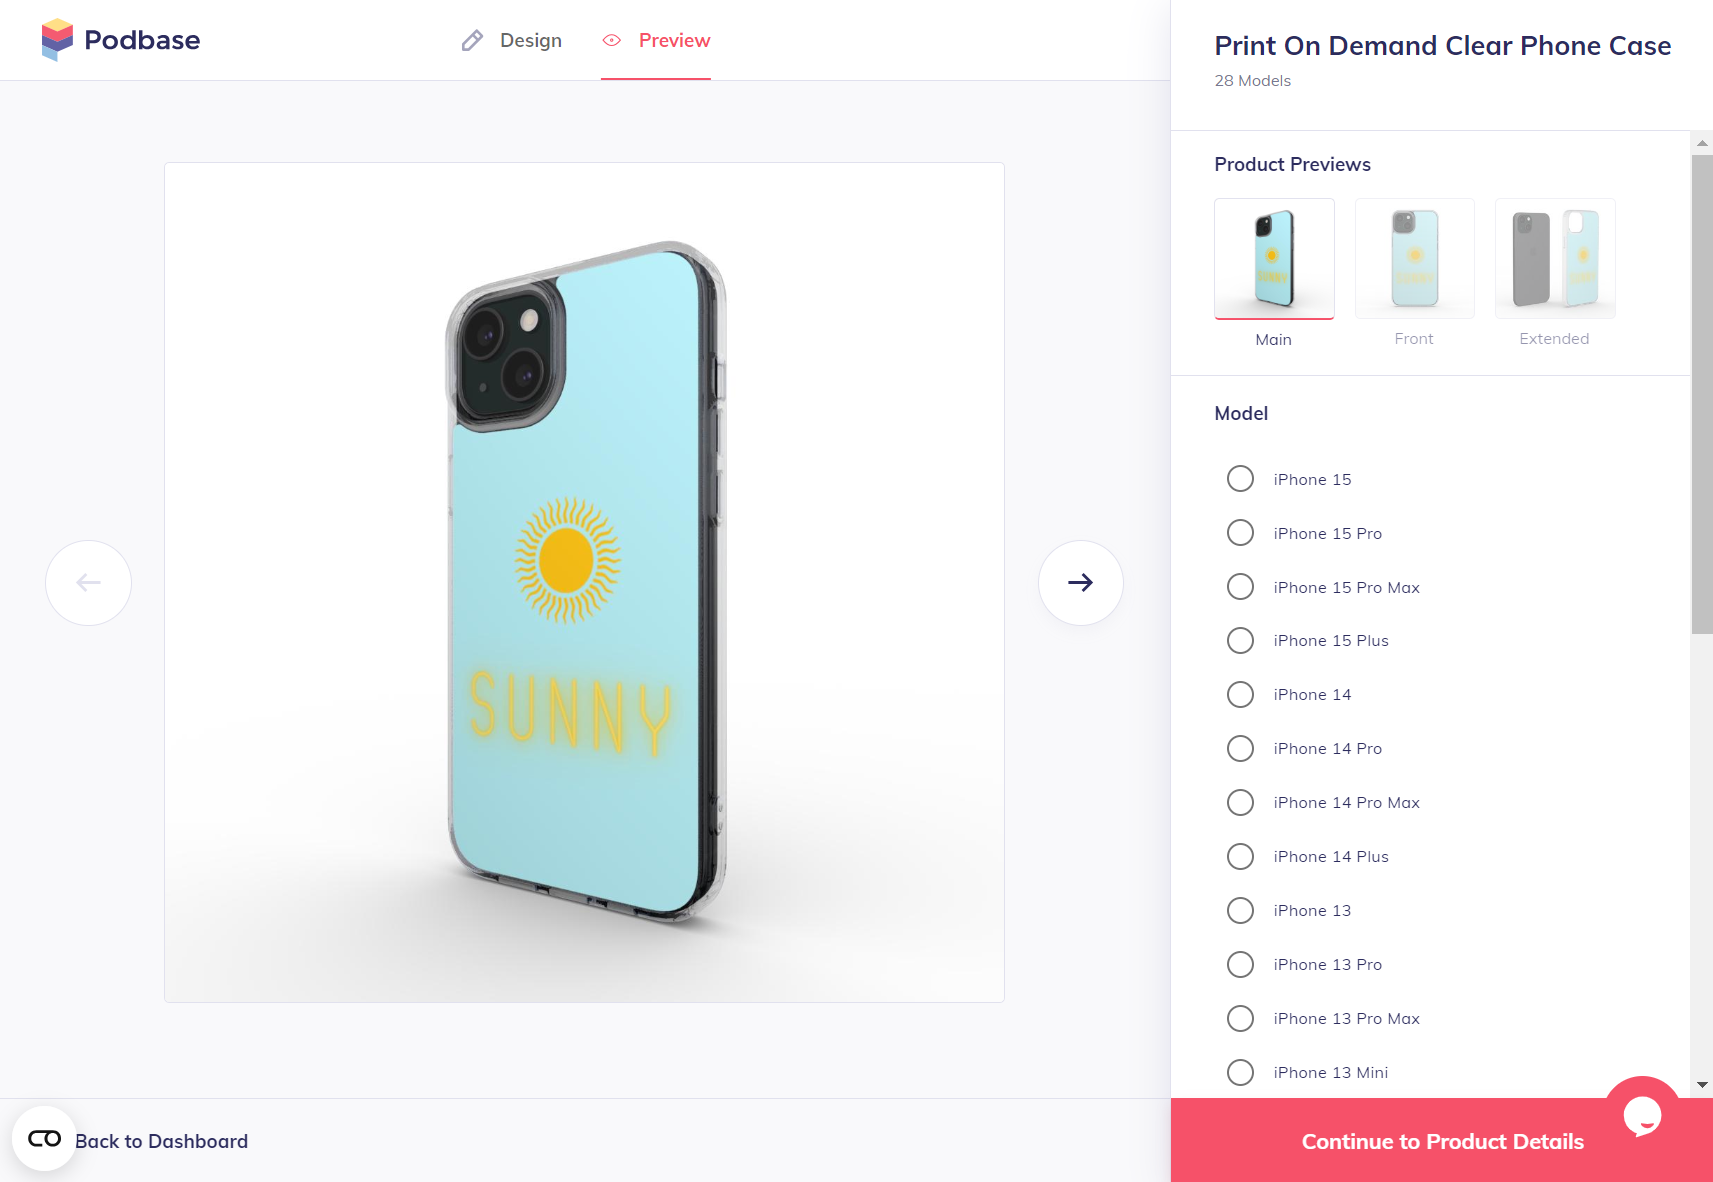
2. Please take into account that when creating a Clear Case product, you will see that the dimensions differ. No worries, just scale your design sufficiently, and Podbase will automatically adjust it to fit all the other models as you can see in the GIF below:
3. If you want to perfect the design alignment for each model, you can always download templates on the product page or directly from this link:
https://www.podbase.com/file/65cc872407bef9431c29429c
When you have created the designs for the desired models, you can go to File > Export > Artboards to Files.
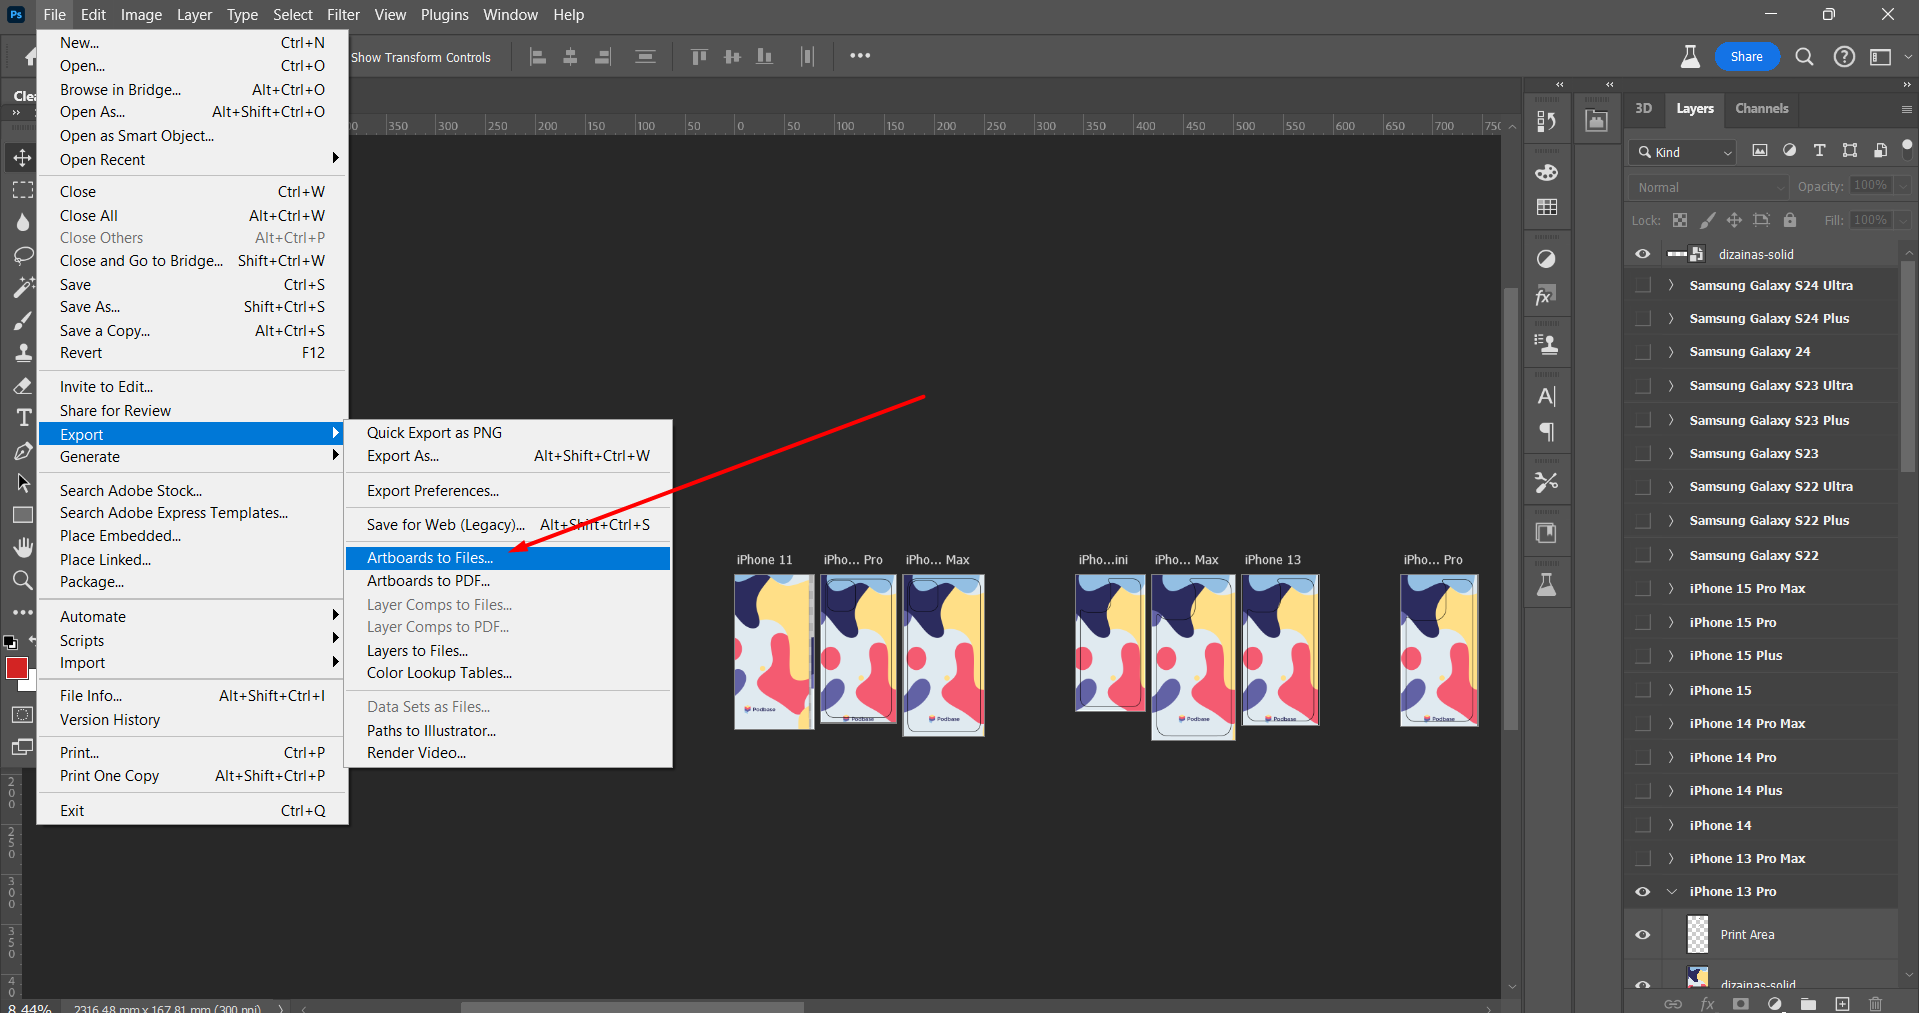
Select the destination and file type: PNG-24.

Vuolia, you have successfully created perfect designs for each model: